Small leather goods
- mademyownco
- Oct 9, 2016
- 3 min read
Updated: Jun 7, 2020
After being away for a long time, I finally managed to find some time with the best friend and we chose to spend it at a leather workshop at Bynd Artisan.
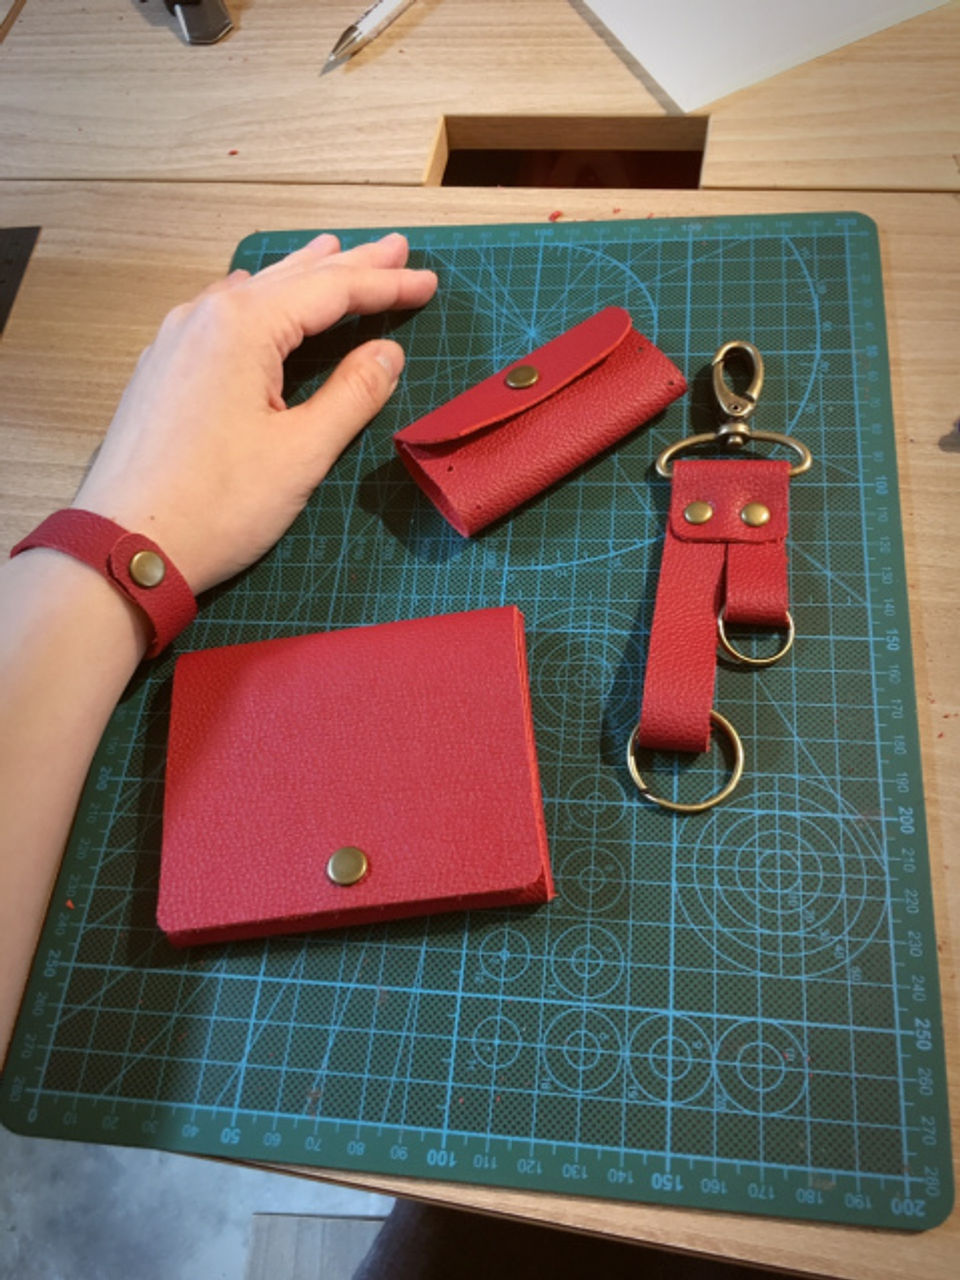
We signed up for the Leather Quadro Workshop on a weekday afternoon. The store / workspace in Bynd Artisan is beautiful, with the various leather products & leather on display – there were tables right inside where the class was conducted. We were supposed to make four items: a little wallet, coin purse, bracelet, and keychain.
The workshop was conducted by Mr Chong, the Master Craftsman at Bynd Artisan, who has more than 30 years of experience (I remember asking him how long has he been doing this, and he replied, “Not long, just 30 years”. And I was thinking, yeah, he’s only been doing it for longer than I’ve even lived…). He was extremely patient for someone who is so skilled & experienced in the craft.
The first task was to select the colour of leather, and I had a tough time…
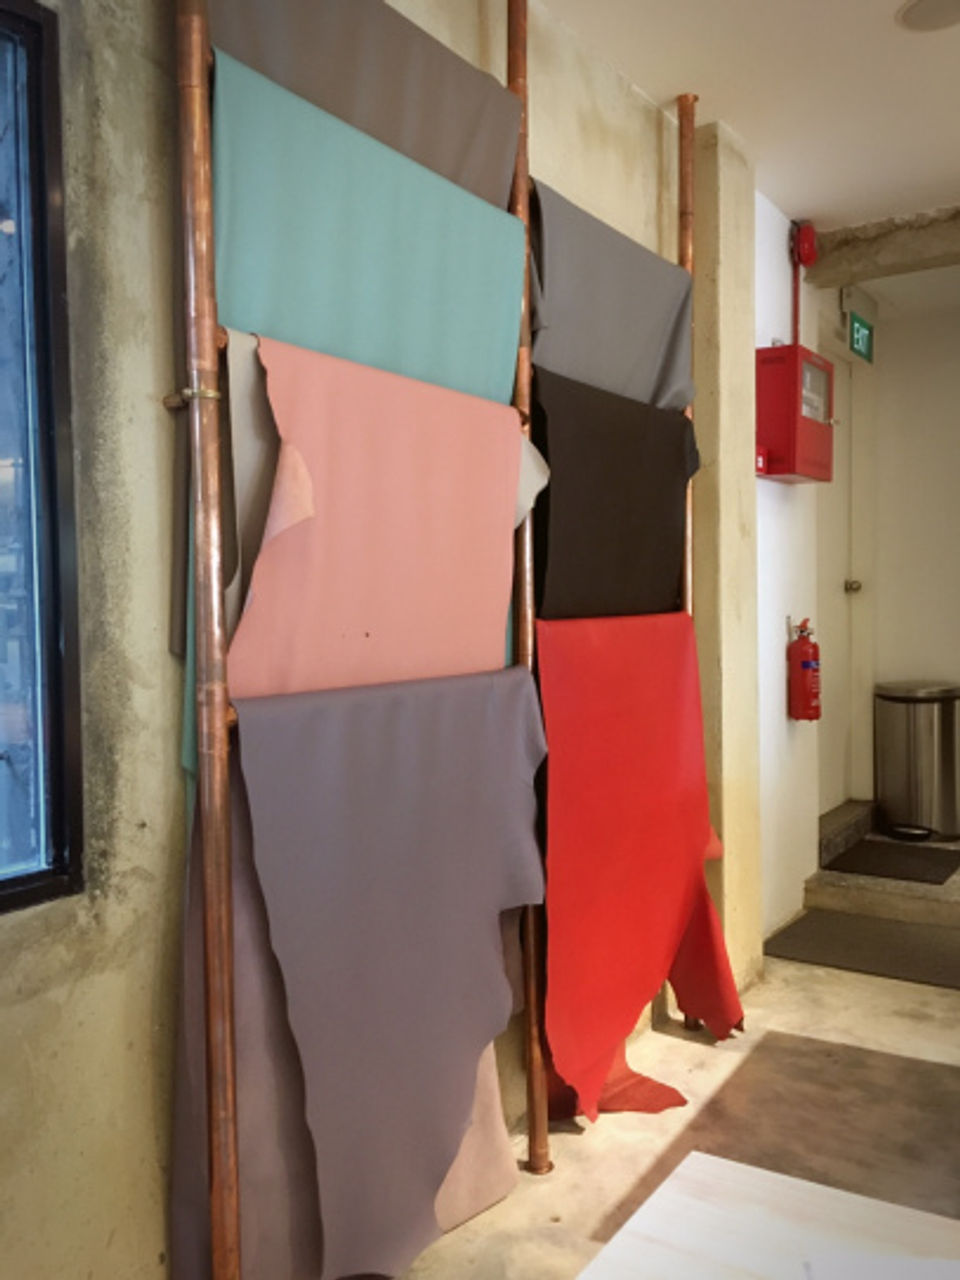
Various colours of leather to select from
Being practical, I started thinking about black / dark brown, then I began to get drawn to the pastel hue blue and pink, but later I ended up at the middle ground of red which was not too girly nor manly. Decisions decisions decisions (had to text the boyfriend to ask for help to decide, as always).
Once the leather was chosen, we then had to use the templates to trace & cut out the patterns.
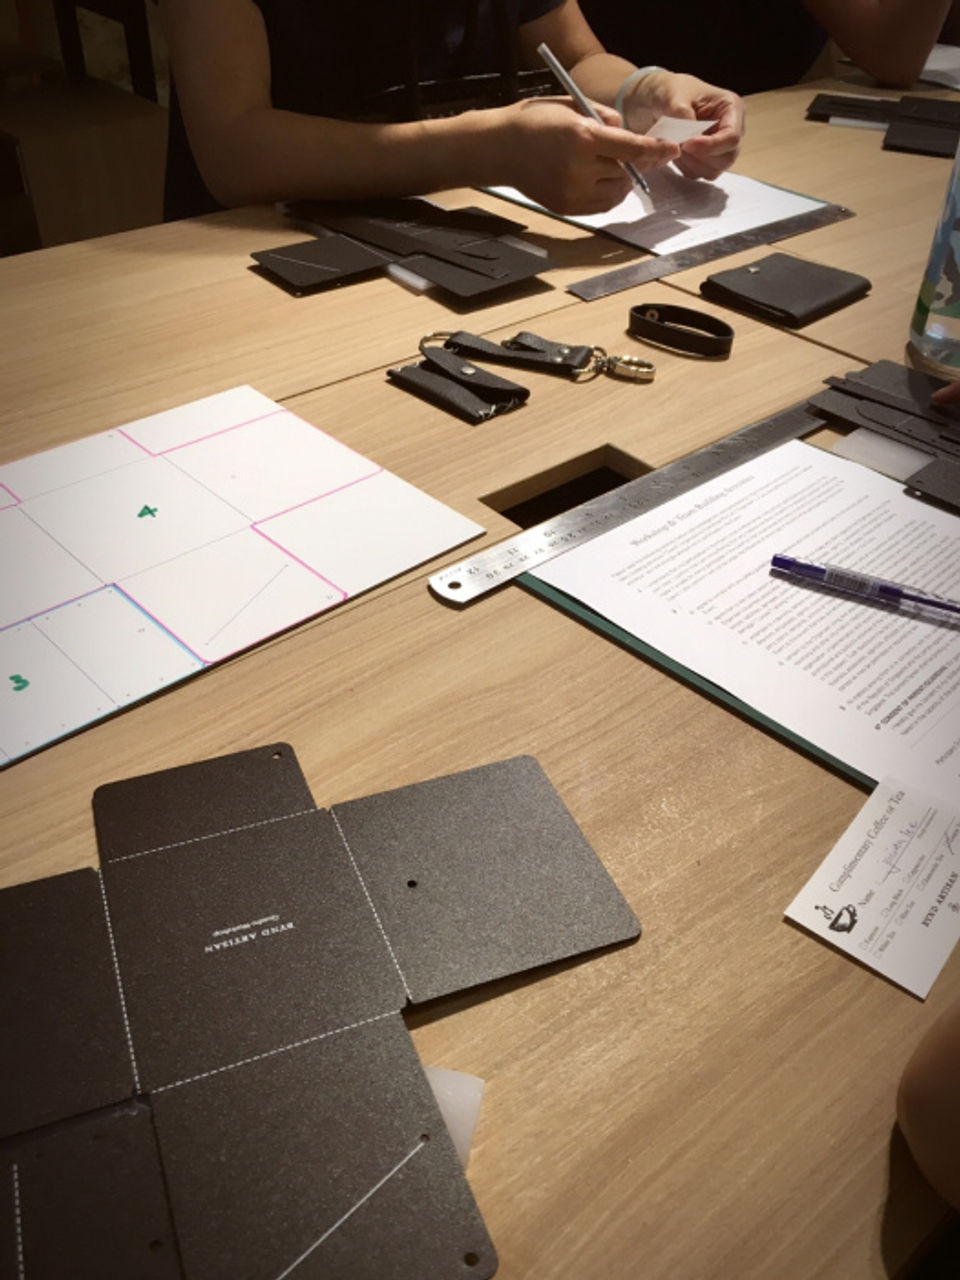
Template for the wallet – sample of output in the background

Getting ready to draw the patterns on the leather
It was kind of like a puzzle, where we had to fit all the templates into the one single piece of leather. We ended with some spare, which was great because some people made mistakes and needed the extra bit, while others used the extra leather to make additional stuff 😉

Done with all the cutting – need to insert the buttons / rivets
Cutting was a bit tedious because the leather was thick, and when it came to the curved edges, one had to be both strong and maintain control.
A few other cool things we needed to do (where we used special tools):
“Thin” the joints with a cutting / shaving tool, so that the wallet and coin purse would “fold” the these edges
Use a puncher to punch holes where we were going to insert buttons / rivets / sew
Use a tool / press equipment (almost like a giant stapler) to insert the buttons & rivets – one important thing was to make sure we place the right sides where they should go. Sounds simple enough, but people succumbed to that simple error (including myself, for the extra random thing I was making oops)
Sew the sides of the coin purse together
Almost done! (just needed to sew the sides of the coin purse)

Everything packed into the neat Bynd Artisan paper bag!
Details of the workshop
Duration: 3.5 hours, including a short snack break in between Price: SGD 88, includes a pastry (SO YUMMY! must’ve been from one of the amazing cafes in the same street) and a coffee/tea during break time
Level of “fun”: 3/5
The workshop exposed us to a range of interesting tools over the very short duration (I love the hole puncher!). There were four different things to make, which kept thins interesting despite the simplicity of each item.
Level of difficulty: 1/5
This workshop was quite easy – there was even a young boy (younger than 14?) in the workshop! The main challenges were being careful with button the right sides of the button on the items, and also having to have a bit more strength when using the equipment to insert them.
Mr Chong was always on hand to help correct the corners what we weren’t cutting smoothly enough 🙂


Comments